28 Apr How to Tie Shoelaces
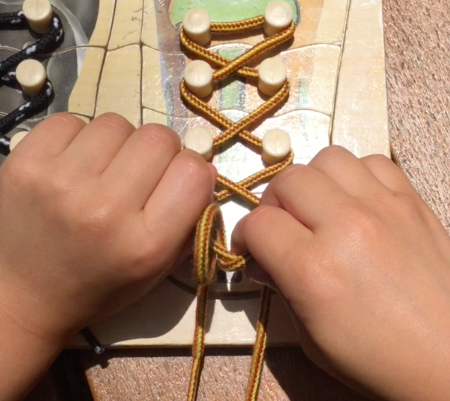
Learning how to tie shoelaces is a major milestone of childhood. Typically this skill is learned in preschool and can be mastered by 4-year-olds. Nowadays many children are experiencing a delay in this skill due to the decrease of laced shoes as well as the increase of children with weak hand muscle strength and coordination.
Use Words
For years, I have been trying to find a rhyme that would give a step-by-step instruction for learning how to tie shoelaces using the standard one loop method. I have found that even though this method may seem more complicated, it is beneficial and prepares the hands for other future skills. I have had success helping children learn to write using action words through the PALS Handwriting Program and believe using words to a song can help children more easily recall the steps. So I created one and have had great results even with young children that have delayed skills. The key is to make sure they can accomplish pencil twirling first so you know they have adequate coordination of the small muscles of their hands. You can check out a video on Playapy’s YouTube channel to learn more about this tip.
Shoelace Tying Words & Video
“Criss Cross, Pick it Up,
Over Over, Pull it Shut,
Poke Pinch, Wrap it Up,
Push Through, Switch to Shut.”
Check out a 4-year-old using the words in this Playapy video!
Breakdown Description for Each Step
Step 1: “Criss Cross”
Make an X with the shoelace strings.
Step 2: “Pick it Up”
Pinch the intersection of the X (preferably with non-dominant hand).
Step 3: “Over Over”
Place one end of the shoelace over (or under) the top of the X twice.
It is best to go over two times to tighten the laces, which may otherwise be too loose.
Step 4: “Pull it Shut”
Release the pinch at the intersection and pull the end of the shoelaces away from each other.
Step 5: “Poke Pinch”
Poke the index finger of the dominant hand toward the direction of the opposite shoelace. Then pinch the strings around the finger with the other hand to create a loop.
Step 6: “Wrap it Up”
Release the index finger from the loop, grasp the other shoelace side, and wrap it around the loop.
Step 7: “Push Through”
Push the index finger and wrapped shoelace from behind the loop to the front while also pushing the thumb out of the way to form a second loop.
Step 8: “Switch to Shut”
Switch hands to grab the second loop with the same thumb that was pushed out of the way. Grab the first loop with the dominant hand.
I hope you find this song helpful. If your child is having difficulty with learning how to tie shoelaces or other dressing skills that are appropriate for his or her age, you should consider consulting with an occupational therapist. Have a playful day!
Amy Baez, MOT, OTR/L
Amy Baez is a pediatric occupational therapist, award-winning author, and Founder of Playapy. For more information about Playapy and its PALS Handwriting Program, visit www.playapy.com or email [email protected].